
Table of Contents
If you’re living in a house where “Can I have a snack?” gets asked every fourteen minutes from the moment your kids wake up until they finally pass out at night, and you’ve become a short-order cook who spends more time opening packages than actually eating yourself, this snack station setup is for you.
You know that special kind of exhaustion where you’ve answered the snack question eighty-seven times before lunch, and every single request involves you stopping whatever you’re doing to play snack fairy while your coffee gets cold and your own stomach growls because you haven’t had a chance to eat anything that wasn’t handed to you by a tiny human demanding you open it first.
You thought keeping snacks accessible would help, but instead you’ve got kids climbing counters like little ninjas, dumping entire boxes of crackers on the floor because they can’t work the package, and asking for snacks thirty seconds after you just gave them snacks because apparently goldfish memory extends to food consumption too.
Here’s what saved me from becoming a full-time snack servant who forgot her own name: I stopped being the gatekeeper of every single snack request and started using a strategic snack station setup like my sanity depended on it. This isn’t about giving kids unlimited junk food access or turning into the permissive parent who lets chaos reign – this is about creating independence that benefits everyone.
Why Snack Station Setup Is the Only Method That Works
Look, I get the appeal of controlling every morsel that goes into your kid’s mouth. It feels responsible to be the snack distributor who makes thoughtful choices and ensures balanced nutrition. But here’s what nobody tells you about that approach: you become a human vending machine who can’t get through any task without interruption.
A proper snack station setup works because it creates boundaries and independence simultaneously. Kids know exactly what’s available and when they can have it, which eliminates the constant negotiation and begging. You’re not saying no to snack requests – you’re redirecting them to a system that works without your constant involvement.
The biggest advantage of a snack station setup? It teaches kids to make choices within limits you’ve already approved. Instead of asking for seventeen different things and then rejecting your suggestions, they learn to evaluate options and make decisions independently.
My Disaster Before the Snack Station Setup
Picture this: Last Tuesday, between the hours of 3 PM and 4 PM, I counted twelve separate snack requests from my two kids. TWELVE. In one hour. Each request involved me stopping my attempt to fold laundry, walking to the kitchen, opening packages, dealing with complaints about my choices, and cleaning up the inevitable crumb explosion.
My six-year-old would ask for crackers, I’d get crackers, then she’d decide she wanted fruit instead. My four-year-old would see the fruit and demand crackers because apparently sibling rivalry extends to snack selection. Meanwhile, I’m standing in the kitchen like a short-order cook who forgot to charge for her services.
The breaking point came when I realized I’d spent more time preparing snacks than I had eating actual meals myself. I was hangry, exhausted, and my kids were turning into tiny dictators who expected me to drop everything every time their stomachs made the slightest rumble.
That’s when I realized the problem wasn’t their hunger – it was the system that made me responsible for managing every single snack decision throughout the day.
The Simple 5-Step Snack Station Setup That Actually Works
This snack station setup isn’t complicated, but it requires some upfront planning that pays dividends in reclaimed sanity. Here’s exactly what I do, and what’s kept me from becoming a full-time snack fairy for the past year:
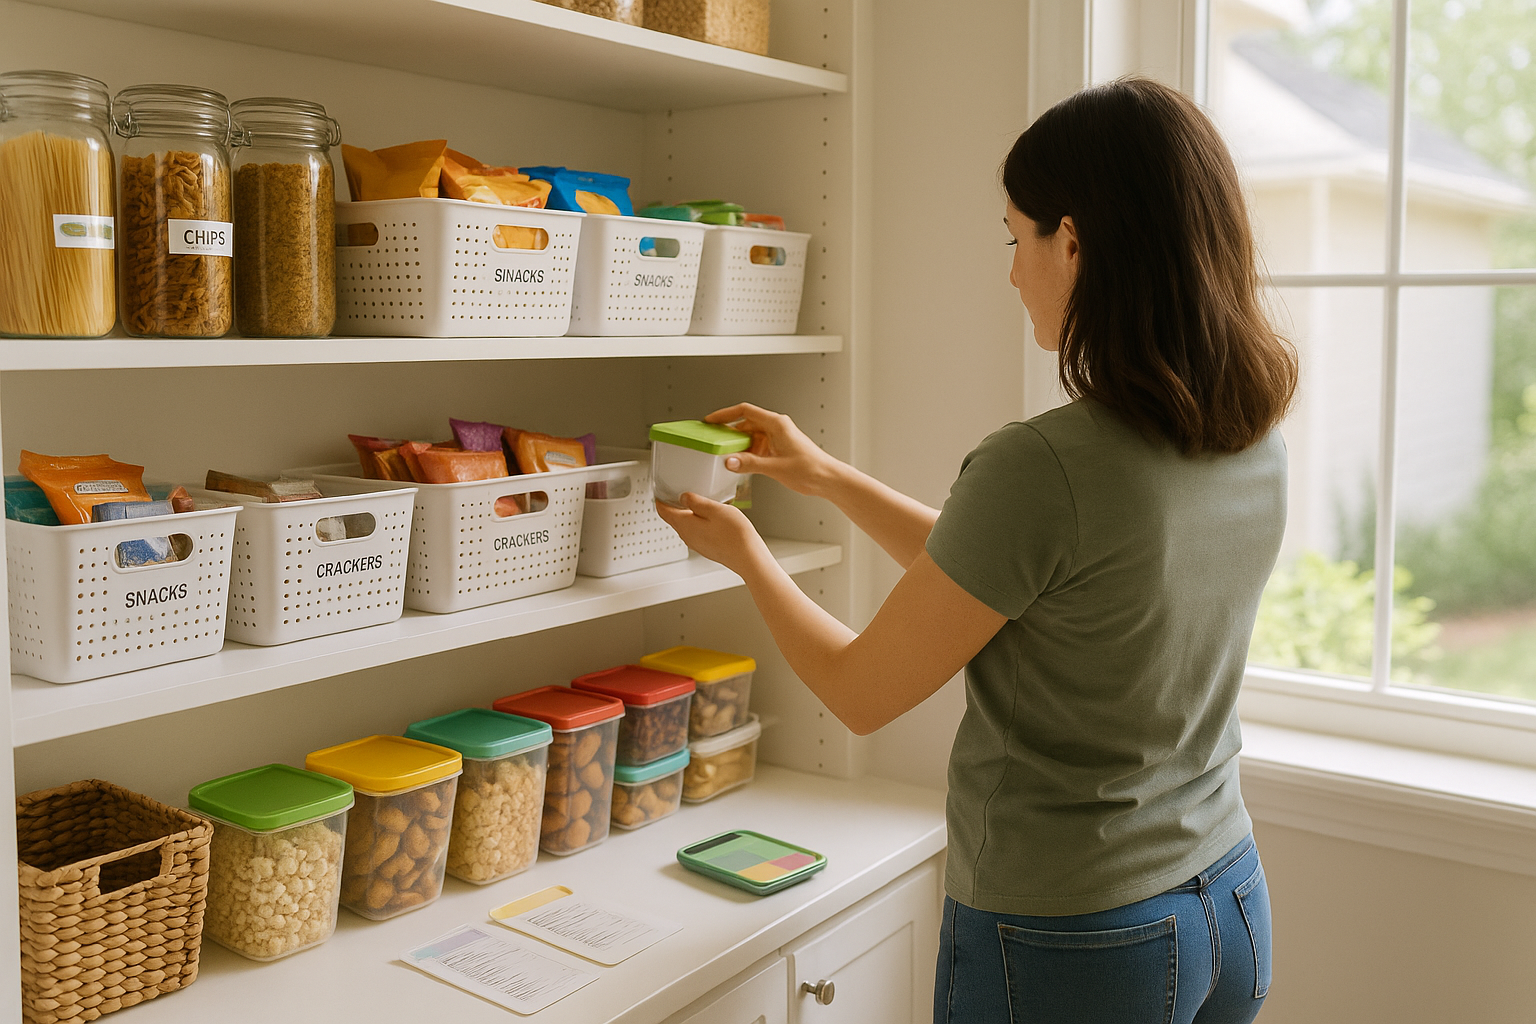
Step 1: Choose Your Snack Station Location
Pick a spot that’s accessible to kids but doesn’t require climbing or dangerous reaching. I use a low cabinet in our pantry, but a bottom drawer, low shelf, or dedicated basket works too. The key is making sure kids can reach everything safely without needing your help.
Don’t use the counter – that just creates more mess and encourages climbing. Don’t use high shelves that require asking for help, because then you’re back to being the snack distributor. The snack station setup only works if kids can access it completely independently.
I learned this the hard way when I put snacks on a shelf that required a stepstool. My kids turned snack time into an elaborate production involving furniture moving and near-death experiences that stressed me out more than just getting the snacks myself.
Step 2: Invest in Clear, Kid-Friendly Containers
Get clear containers with easy-open lids that little hands can manage. I use plastic cereal containers from the dollar store, but any clear, lightweight containers work. The visibility is crucial – kids need to see what’s available without opening seventeen different containers.
Label everything with pictures if your kids can’t read yet. A photo of goldfish crackers taped to the goldfish container eliminates the guessing game and the inevitable dumping of contents to figure out what’s inside.
Make sure lids are truly kid-friendly. If you need superhuman strength or engineering degree to open them, your kids can’t use them independently and your snack station setup becomes another source of “Mom, I need help” requests.
Step 3: Pre-Portion Everything Into Single Servings
This is where the magic happens in your snack station setup. Take the time once a week to portion snacks into individual servings using small containers, snack bags, or reusable pouches. One serving per container eliminates overeating, reduces waste, and prevents the entire box of crackers ending up on the floor.
I spend about twenty minutes every Sunday dividing bulk snacks into kid-sized portions. Tedious in the moment, but it saves hours of interrupted time throughout the week when kids can grab pre-portioned snacks without negotiation.
Include a variety of options – something crunchy, something sweet, something that counts as relatively healthy. I do cheese sticks, apple slices, crackers, pretzels, and one “treat” option like a small cookie or piece of candy.
Step 4: Establish Clear Rules and Timing
Create simple rules about when the snack station setup can be accessed. In our house, it’s available between breakfast and lunch, and between lunch and dinner. No snacks within one hour of meals, and only one item at a time.
Post the rules where kids can see them – either written out or with a visual schedule. This eliminates the “But I thought I could have two snacks” arguments and gives you something concrete to point to when they test boundaries.
Be consistent about enforcing rules, especially in the beginning. If you cave on timing or quantity, kids learn that rules are suggestions and you’re back to managing every snack decision.
Step 5: Restock and Rotate Weekly
Set up a weekly routine for restocking your snack station setup. I do it every Sunday when I’m meal prepping, but find whatever day works for your schedule. The key is consistency – empty containers defeat the whole purpose.
Rotate options occasionally to prevent boredom. If kids get tired of the same snacks, they’ll start asking for alternatives and you’re back to being the snack fairy. Change up one or two items every few weeks to maintain interest.
Keep track of what disappears fastest and what gets ignored. If nobody eats the pretzels but the cheese sticks vanish immediately, adjust your shopping and portioning accordingly.
Why This Snack Station Setup Works So Well
Look, I’m not going to pretend this snack station setup turned my kids into perfectly self-sufficient beings who never ask for anything (wouldn’t that be nice). But it solved the biggest problems that were making me question my life choices:
Eliminates constant interruptions. When kids can handle their own snacks, you can actually finish tasks without dropping everything to play snack distributor seventeen times per hour.
Reduces decision fatigue. Instead of negotiating snack choices all day, kids learn to evaluate pre-approved options and make their own decisions within boundaries you’ve set.
Teaches independence and responsibility. Kids learn to assess their hunger, make choices, clean up after themselves, and understand limits without constant adult intervention.
Prevents overeating and waste. Pre-portioned servings eliminate the “I ate an entire sleeve of crackers” situations and teach appropriate portion sizes naturally.
Creates predictable structure. Kids know when snacks are available and what their options are, which reduces whining, begging, and meltdowns about snack timing.
Common Snack Station Setup Mistakes (That I Definitely Made)
Making portions too big or too small. I started with adult-sized portions that were overwhelming, then overcorrected with portions so small kids needed three containers to feel satisfied. Find the sweet spot that satisfies hunger without spoiling meals.
Including too many choices. My first attempt included twelve different snack options because I wanted variety. Too many choices create decision paralysis and lead to more mess as kids dig through everything looking for the “best” option.
Not establishing clear timing rules. I thought kids would naturally space out snack consumption. Wrong. Without clear boundaries, they’ll graze all day and refuse actual meals.
Using containers that are too difficult. Those fancy airtight containers with complicated locking mechanisms? Kids can’t open them independently, which defeats the entire purpose of the snack station setup.
Forgetting to restock regularly. Nothing kills the magic of independence like reaching for a snack and finding empty containers. Consistency in restocking is crucial for the system to work.
What About Nutrition and Balance?
You’re still controlling what goes into the snack station setup, so you’re still making the nutritional decisions. The difference is you’re making them once a week during prep time instead of seventeen times a day in the moment when you’re tired and just want the asking to stop.
Include options that you feel good about nutritionally, but don’t stress about making every single snack perfectly balanced. If kids eat a reasonable breakfast, lunch, and dinner, snacks can be less nutritionally intense without causing developmental delays or scurvy.
I include one clearly “treat” option (like a small cookie) alongside healthier choices. This prevents the forbidden fruit effect where kids become obsessed with getting the “good stuff” and teaches them to make balanced choices.
Handling Resistance and Rule Testing
Kids will absolutely test the boundaries of your snack station setup, especially in the beginning. They’ll ask for additional snacks, try to access it outside approved times, or complain that the available options aren’t what they want in that moment.
Stay consistent. The first few weeks are crucial for establishing that this is how snacks work now. If you cave to complaints or bend rules, you’re teaching kids that persistence pays off and you’re back to managing every snack decision.
When kids ask for snacks outside the designated times, redirect them to the next approved snack time instead of explaining why they can’t have snacks now. “Snack station opens after lunch” is clearer and less arguable than a lecture about meal timing.
The Snack Station Setup Reality Check
Will this snack station setup turn your kids into grateful little beings who never ask for anything unreasonable again? Of course not. Will it eliminate every single “Can I have a snack?” question? Nope. But will it dramatically reduce snack-related interruptions and teach kids valuable independence skills? Absolutely.
The goal isn’t perfection – it’s reducing the mental load of managing every tiny decision throughout the day while teaching kids to handle age-appropriate responsibilities. When kids can manage their own snacks within reasonable boundaries, everyone wins.
I still get snack requests occasionally, but now they’re usually about wanting something that’s not in the station rather than needing me to get approved snacks they could access themselves. That’s a huge difference in terms of daily interruptions.
Starting Your Snack Station Setup
Begin your snack station setup on a weekend when you have time to set it up properly and explain the system to your kids. Let them help choose containers and decide which snacks to include – ownership increases buy-in.
Start with just a few basic options to keep it simple. You can always add variety once the system is working smoothly. Better to have a functional simple setup than an elaborate system that becomes too complicated to maintain.
Expect some adjustment time as everyone learns the new routine. Kids might forget the rules initially, or try to negotiate for exceptions. Stay consistent and give the system time to become habit before making major changes.
The snack station setup isn’t about being the perfect parent with the most organized system – it’s about creating independence that gives you back mental energy while teaching kids valuable life skills. When kids can handle their own snacks within reasonable boundaries, you get to be a parent instead of a full-time snack servant.
Because life’s too busy to spend half your day playing snack fairy when you could teach kids independence that benefits everyone and actually gets your own tasks done.